


This is one I've been planning for a while. Ever since I read the Nathan…
AnaIv In Charcoal
After reading Anthony Ryder’s book, I was keen to put some of his ideas into practice as soon as possible, so I’ve been doing some figure drawing today. I picked charcoal as my medium as I thought it was the most natural medium to use for these new ideas, although I’ll be trying them out with other media in due course. And charcoal has been going through quite a lean spell on this blog and is long overdue an outing. Today’s model is AnaIv, making her fifth appearance here.
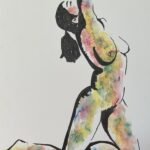
I started with an Anthony Ryder style block-in. I went into a photo editing app and drew a big polygon around Ana. Then I put this shape down on the paper and gradually divided it up until I had a decent rough outline. There was a little bit of rubbing out and redrawing in places whenever I wasn’t happy with the accuracy but all worked out fine: no gridding today and, touch wood, I didn’t miss it.
Step 2 in Anthony’s process is the outline contour. I drew this in with a charcoal pencil, building it from lots of convex curves and observing my source photo really carefully, looking for all those places where I needed to stop one curve and start a new one. This stage went well too, leaving me with a more realistic outline than I’d have got previously, when I probably would have used fewer curves or included some convex ones.
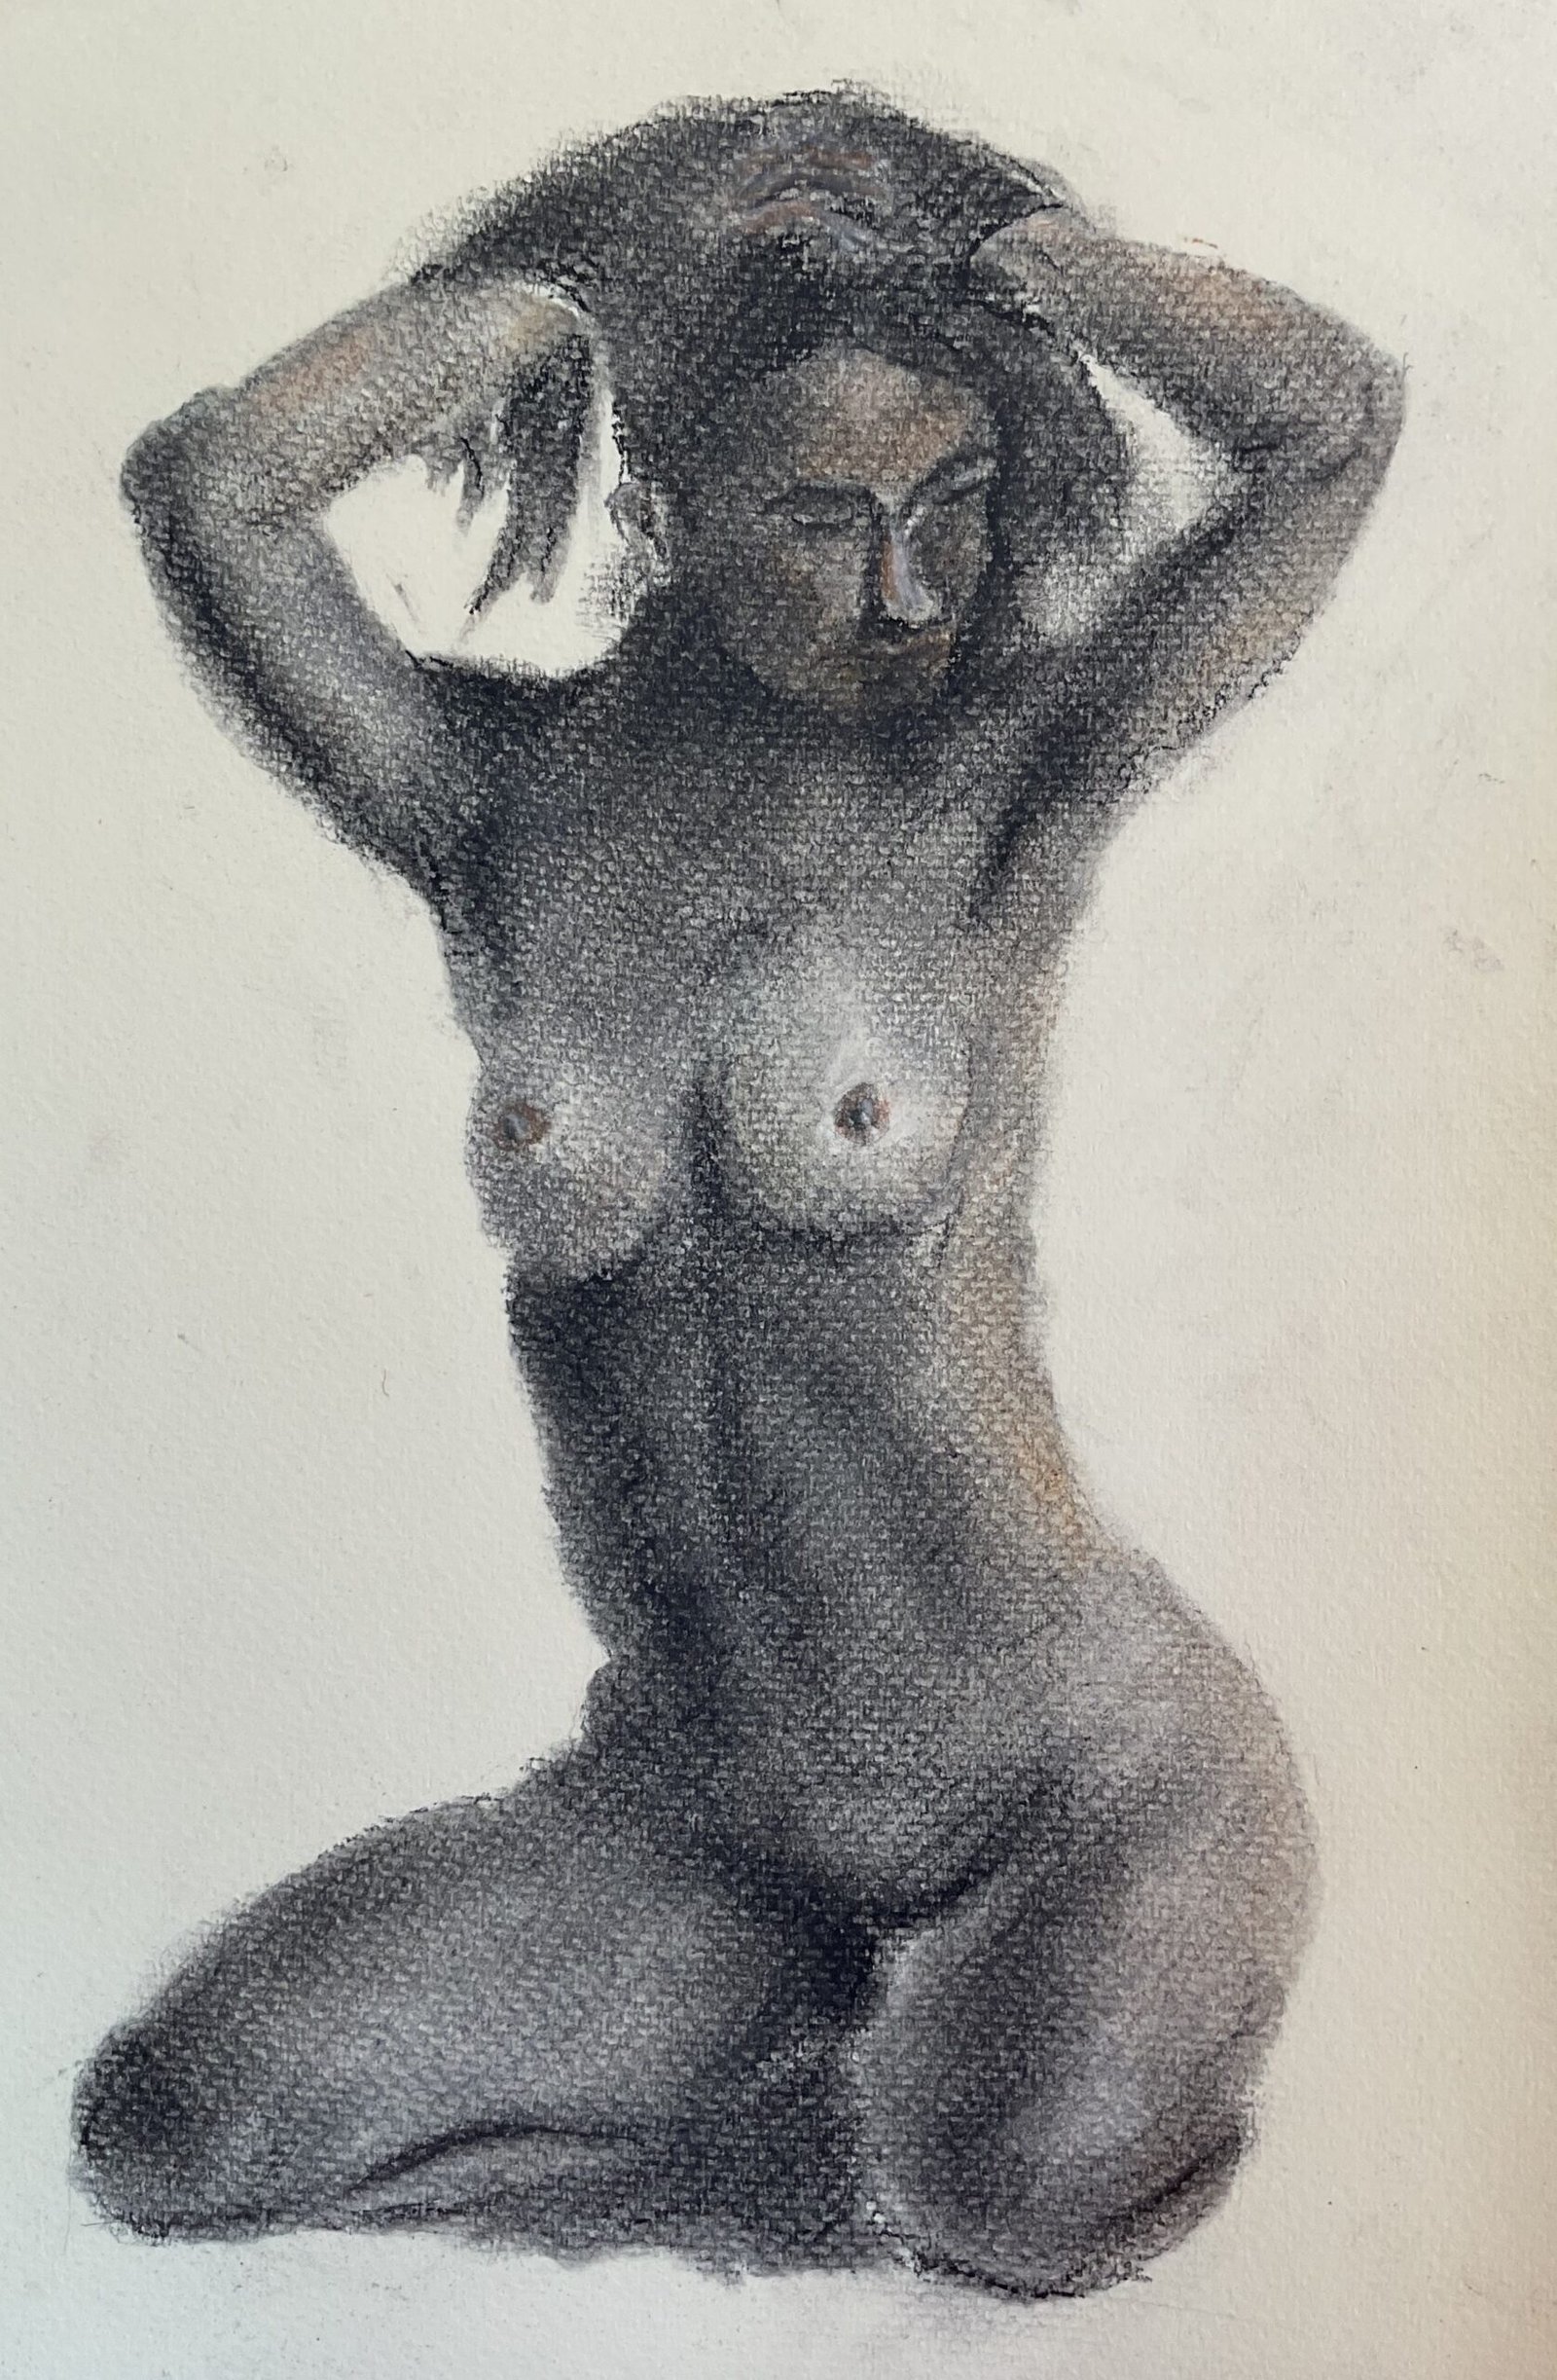
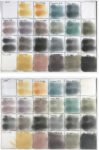
And then it was on to colouring in the inside. I started by identifying highlights and colouring these in white, then all the darkest darks and the terminators within the shadows (thanks Anthony) and colouring these with my darkest black. And then I just got into the zone, adding the next darkest darks and the next lightest lights (I was using a tinted paper, so the untouched paper was in theory the midtone). Where I deviated from Anthony’s recommendations here was that my colouring (with the exception of identifying and adding the terminators) was 100% based on observation. According to the book, I should have been more theoretical here, identifying forms and thinking about how lights and shadows would appear on them according to the rules of physics. Maybe next time. For now, though, I was pleased with my observation skills, which I’ve not used this much for a while. Throughout this process, I used only charcoal pencils (no vine charcoal or XL blocks today, I just forgot about them while in the zone). But I did use a variety of colours, supplementing my black and white with green, blue, and purple tints in dark areas and yellows and oranges in whiter areas. I smoothed out most of the charcoal marks with my fingers but used paper stumps around the face and nipples where I needed a bit more precision.
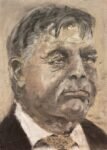
This final stage went on for quite a while, with lots of fiddling whenever I wanted lights to be lighter or darks darker. The background got messy with smudges but these were easy to remove with a putty eraser. Where I wasn’t happy with the thickness of arms, it was easy to use the eraser to thin them or a charcoal pencil to thicken them. I was never 100% happy with the face, which was looking a bit too male at times. Eventually I minimised detail with some finger smudges to leave something rough and sketchy: not an issue as this was a figure painting and not a portrait. And once I reached a happy place, that was me done. A quick spray with fixative and I was ready to start writing this post.
Well, what an interesting exercise that was. I’ve ended up with, dare I say it, quite a realistic looking body thanks to all those terminators within the shadows. The face isn’t great but, as I said, this is a figure and not a portrait. You want to see a face, look in a mirror. The outline is slightly out in places because I’ve used Anthony’s block-in technique rather than a grid. But on the other hand, the outline looks fuller than normal as a result of me taking on board Anthony’s tip about convex curves. So, yes, this is good enough to go in the shop window. You can see the price here.
pencils only
Leave a Reply